
The Backstory: The Painting is Done. Now What?
You’ve had your fun, you’ve gotten your hands dirty, and the painting is finally finished and signed. You’re feeling good about it. So good about it, in fact, that you set it carefully in that specially reserved space in your studio where you can view it from every angle…all day, every day.
Now you have a choice to make. Either you bask in the glory of the newly finished artwork and ride the tide of the flow you were in while you painted it. If that’s the route you take, it means you’ll stop for nothing, pull out a blank canvas and start a new painting right away. We’re all guilty of this…that’s the fun part!
Or, you take care of the nitty-gritty details that go into fully wrapping up your new painting before starting the next one. With this, you will complete the tasks of varnishing, wiring, titling, finishing edges, photo documenting and adding it to your online portfolios and social media.
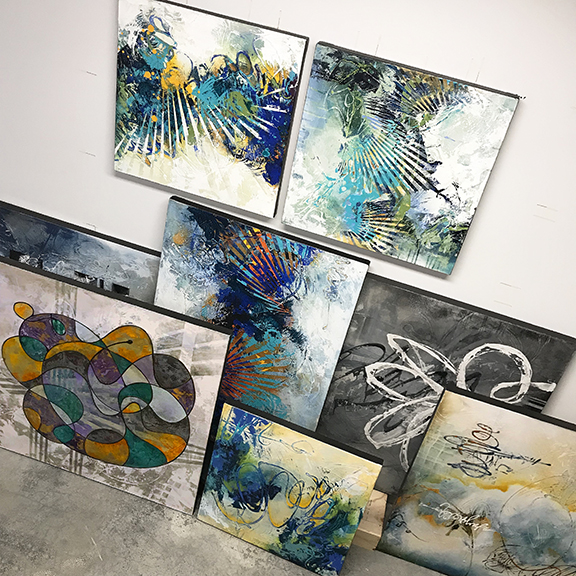
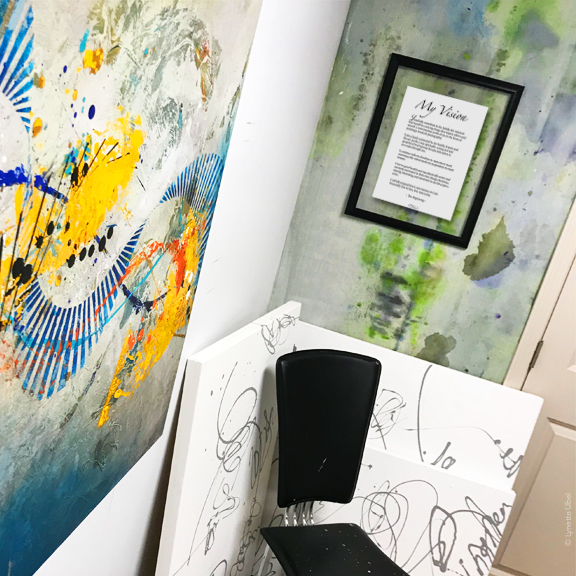
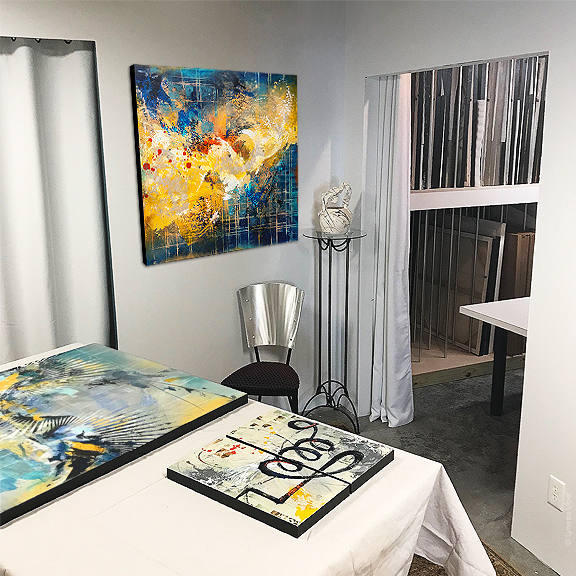
This behind the scenes stuff is generally not where artists like to spend their time, so procrastination can easily set in. The result can be something like the backlog of artwork awaiting wiring like what you see in the top image of this post.
So what is involved with finishing out a painting? Glad you asked!
FIRST THINGS FIRST
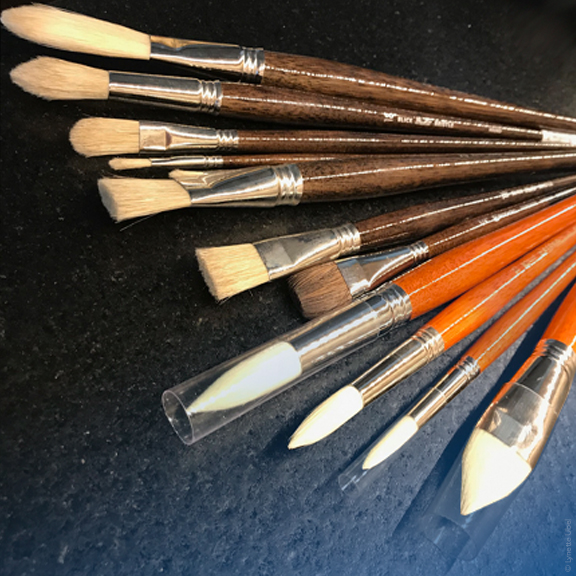
A painting is not complete until it has been signed, so this is generally the first and easiest step in declaring a piece of art complete. Next up, in my studio at least, is applying two coats of black paint to the edges. I do this so my work can hang unframed or framed and it has a polished finished look either way.
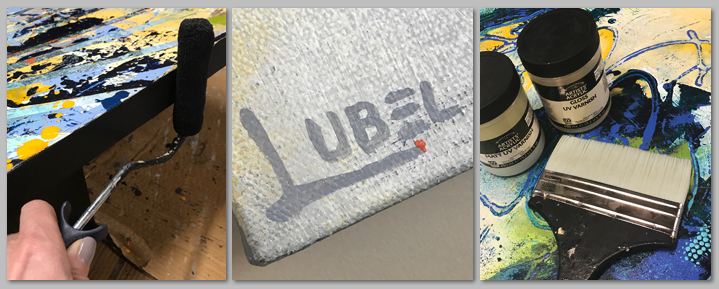
For the black painted edges, I use a small trim roller that can be found at most hardware stores. All of this is followed up with one coat of UV varnish to protect the piece from elements in the air and help preserve color over time.
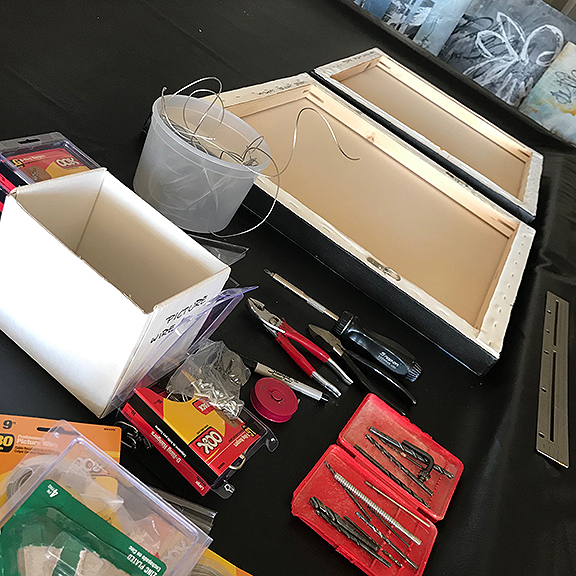
ON THE FLIP SIDE
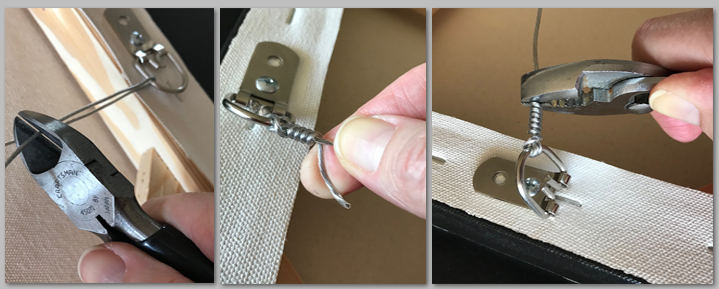
The backside of the canvas requires a different set of tools than the preferred brushes and paint normally seen around the studio. Canvas frames are made of fairly strong wood. I learned the hard way that hand starting the D-ring screw without a pre-drilled hole could result in unnecessary annoyance and pain while trying to hold the screw in place. Since my “learning experience” a drill has been added to my tool kit!
The placement of D-rings is generally about ¼ of the way down from the top of the painting. The frame is measured, marked and drilled. Once the D-rings are attached the wire gets looped securely on and the free ends of wire are coiled tightly to secure and lock it in place on both sides.
Having both wire and D-rings on the back of paintings allow the eventual owner to hang the piece by the wire only, or to more securely fasten it to the wall with a hook for each ring.
Unless an artist has an assistant, there are no shortcuts when it comes to managing these hands-on details when wrapping up their paintings.
IS IT DONE YET?
The physical details of the art have been fleshed out but the artist’s time on the clock is still ticking. The art is ready to leave the studio but unless we get it on our websites, Instagram and other social media channels the galleries and buyers have no idea it’s available.
Out comes the photo equipment! It’s time to capture the highest resolution image of the new, original painting as possible. Photo light boxes, Nikon camera, shutter release cables, and reflector panels are a few more unsuspecting tools in my art arsenal. Once the loose ends mentioned above are complete, and the painting is photo documented…it’s time to paint again!
THAT TOOK HOW LONG?
Many people ask artists, “How long did it take you to paint this?” The short answer comes when an artist throws out a random number of hours or days because they don’t really know.
The longer answer and the truth of the matter is that it takes more time than many can even begin to fathom.
Each painting takes a lifetime of experience, many years of painting and days of doing the inglorious stuff.
We do it because we love it. We love what we do so time cannot easily be tracked.
Most art buyers know what drew them to one painting over another and can appreciate the work that went into the colorful façade they fell in love with. What they may not realize is the time the artist also spent getting it ready for them to enjoy.
Have you ever considered what goes into a painting beyond the paint you see on the front? Have you ever asked what’s the backstory on the paintings that you own? Share your comments below!
More Articles Like This
Comments (0)